09 July 2011

Glass flatbread ( Coca de vidre )


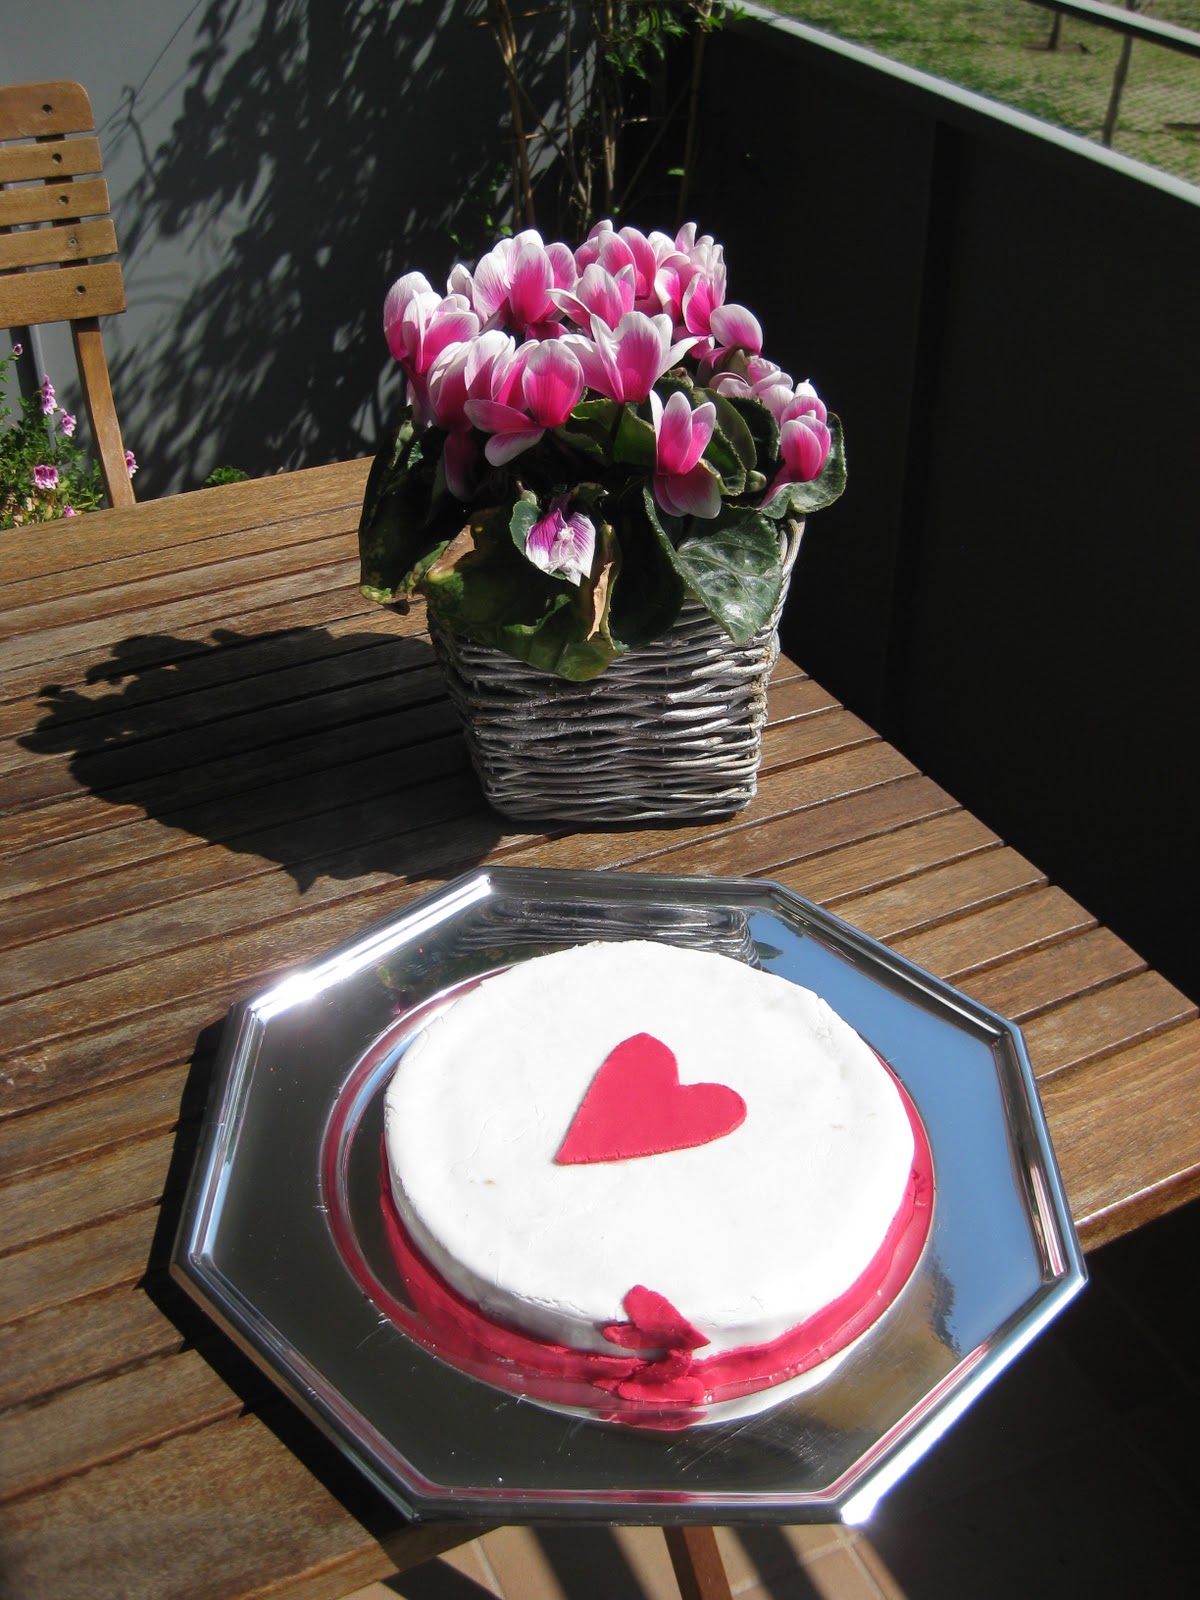
I know! It is a long time I don´t write anything. But this is because I had to follow an special diet as I am pregnant, and sugar was not in the list!. This is an exception as I wanted to celebrate a very special day cause my niece Bruna is now one week old. She is sooo cute.
The dessert today is coca de vidre (or coques de vidre, in plural), that is a typical catalan thing. Vidre in catalan means glass, because it is very thin and easy to break, and also because when you pour the anisette into the flatbread right after the oven, this mix with anisette and sugar crystalizes. Of course you can make small rounded pieces and you will have a cookie instead, but normally it is like a bigger portion. You can find them in Catalonia, but more likely around Barcelona area (it was created in Sabadell...my city!).
The clue here is using the flour you will use for making a pizza (or just buy a thin fresh pizza base) and also the other important thing here is the anisette. I don´t know if you can find this in some other countries. All the people here use one that is called Anís del Mono (anisette from the monkey, yes quite weird name...it was created some time ago, when Darwin was claiming about the theory of evolution) (you can find it in any supermarket). You have to pour the anisette just right after the oven. Another key factor is trying to make the coca as thin as you can. I guess some of you will have a hard time finding anisette .....sorry!
A nice woman from California (Loran) wrote me some weeks ago after visiting Barcelona and she found it so delicious that asked me for the recipe. It also can be called Coca de Caramel, but it is not the official name. 
I am going to post the easy recipe today for it, that I got it from another blog (La cuina de casa), that it is so easy. 

What you need:

a fresh pizza base
oil
pine nuts (or laminated almonds)
sugar
anisette

Let´s start

1.Just roll out the dough (Fresh pizza base) using a rolling pin. Shape it the way you like it. But make it a very thin layer.
2. Put oil on top (paint the coca)
3. Put the pine nuts and sugar (be generous!)
4. Introduce it into the oven for 10-15 minutes 180-220ºC (around 400F)
5. Pour the anisette just right after you remove it from the oven. It will react and it is going to crystalize.


That is ALL!!

There are also some videos where you can get the difficult recipe, where you prepare the pizza base instead of buying it. Have a look at these videos

http://youtu.be/JIwMPNHfEoA (they use almonds instead of pine nuts, but it is not very common but it taste good anyway..)
(oli is oil, farina is flour, sucre is sugar, ametlles is almonds, anís is anisette, sal is salt, aigua tebia is warm water, 2 cullerades means 2 tablespoons) (deixar reposar la massa 15 minuts, is let the dough stand for 15 minutes).

http://youtu.be/CEWRwr0qX90 (they don´t put pine nuts...)


Enjoy/ Bon Profit

22 March 2011

Coconut Cake (Pastís de Coco) & fondant


Hi everybody!. I´ve seen that I have no recipe this month, so even cakes are not the best thing to feel healthy, there is always time for baking one. This time is a coconut cake, with fondant (this is an option). You can have a look at two possible outputs, because one of them is from some time ago and I did not post it. Fondant is an option for a lot of different cakes. Have a look at this video from Robin Hassett, it is very interesting and you will have an idea how to work with these things...(colorants, sugar paste..)
This is a soft cake that last for several days as it is wet inside.

What you need for 4 people

2 eggs
7 tbsp sugar
6 tbsp sifted flour
10 gr baking powder
100 gr coconut
400 ml coconut milk
some vainilla flavour

Option: Fondant

ready to use: I have used RegalIce
food colorants: I have used Icing colors from Wilson

Let´s start

1. Preheat the oven at 200ºC
2. Prepare a recipient with some butter and flour or non stick spray. This is not a big cake, so use a small one.
3. Beat up the whites only. Add some vainilla flavour. Put it in a bowl.
4. Mix the egg yolks, the sugar, the flour, the baking powder, the coconut and coconut milk.
5. Add this mix into the bowl with the egg whites slowly and mix it with a spatula.
6. Pour it into the recipient and put it inside the oven for about 30 minutes. 200ºC ( lower fire plus fan).
7. Let it cool down before adding the fondant.

While it is in the oven, you can prepare the layer of fondant and the decoration with the food colorants.
Have fun with your imagination.


Enjoy/ Bon Profit!

18 February 2011

Meatballs (Mandonguilles)


I went to see my grandma the other day and I asked the exact recipe for her yummy meatballs. So I would like to share it with you. This is with aubergine/eggplant. Hope you enjoy it as much as I do.

What we need for 4 people (16 meatballs)

400-500 gr of Ground Meat (botifarra fresca). It is made of Ground Pork here.
2 bay leaves
1 carrot
1 tbsp of ground cinnamon
1 egg
1 aubergine/eggplant
4 tbsp of fried tomatoe sauce.
1/2 of a big onion
Aprox. 250 gr of bread from the day before
a bunch of peas
3 tbsp of brandy/cognac
some flour
some water
salt
sugar
oil

Let´s start

1. In a bowl add the ground pork and the egg. Add salt and black pepper if it is needed, depending on your ground meat. With a fork, mix it. Make breadcrumbs and add it to the bowl.  Mix it well. It tastes much better if you do it with regular bread from the day before. Don´t use the crust. Let it marinate for at least half an hour
2. Cut the aubergine/eggplant and add some salt and sugar.
3.In a frying pan, fry the minced onion with oil. Then add the tomatoe sauce. Then drain through a strainer and place the liquid into a final saucepan with some water.
4. Make the meatballs by hand or using an small recipient. Use a little bit of flour for the surface. You can get 16 meatballs. Fry them with some oil in a frying pan.
5. Put the saucepan on to the heat (low heat) and add the cinnamon, the bay leaves, some salt. Add the peas and the carrot and the brandy. After that add the meatballs. Add more water till the meatballs are nearly covered (3/4).Cook over a low heat. Let them on to the heat for at least half an hour or an hour, or till the sauce starts to thicken.
6. Meanwile fry the aubergine/eggplant coated with flour.
7. Add them into the saucepan when the sauce starts to thicken. Let it for 5 minutes. It is ready to serve.

Enjoy/Bon Profit!

14 February 2011

Strawberries with vinegar (Maduixes amb vinagre)


Happy St Valentine! Well, in Catalonia this is not very common to celebrate, because we have another special day for love here: Sant Jordi´s Day (St George´s Day). In that day, women give a book as a present to men and men give a rose back to them. It is the 23th of April, so I really recommend to come here around that time, as you will have a the chance to see the great atmosphere of that day.

Anyway, in St Valentine everything seems to be red that day, so I had a go to something healthy and delicious. That is Strawberries with vinegar. It seems an odd combination but it tastes really good. Give it a try. This is a traditional recipe from my grandma (I have added some cinnamon that works very well with it, and the whipping cream).

What you need (for 2-4)

500 g fresh strawberries
1 banana
4 tbsp of vinegar (not balsamic)
5 tbsp of sugar
1 tbsp of ground cinnamon
1/2 lemon (juice)

if you want: some whipping cream with some ground cinnamon at the top (200 ml of double cream with 4 tbsp of castor sugar)

Let´s start

1. Clean with water the strawberries and then cut the green part.
2. Cut the strawberries and the banana to small pieces.
3. Add the vinegar, sugar, lemon juice and ground cinnamon and mix it with a spoon.
4. Put in the fridge for at least 2 hours in order to macerate the fruit. The more, the better. While in the fridge, remove the mix with a spoon a couple of times.
5. Serve it with some whipping cream aside and some cinnamon at the top if you wish.

Enjoy/Bon Profit

04 February 2011

"Ràdio Sabadell"...experience!


Hi!!!

Today my post is going to be a little bit different as it is not about a new recipe, but it is about something that happened to me this morning that is related to this blog.
They contacted me to go to the Radio Sabadell and talk a little about my blog and explain a recipe. I decided to explain the Pavlova as it is something not very well-known here and it is easy.
It was a nice experience and the program is really worth it.

If you want, you can listen to it (it is in Catalan), but if you don´t understand a single word in this language, don´t worry, at least you will have the chance to hear my voice ;-)

xxoo


To hear it, you can go to:
http://www.radiosabadell.fm/RSPodcast-V1.0/faces/home.xhtml
and choose the program "Amb molt de gust" from this date 04_02_11 (Jordi Samper...). I am talking the the first 10 minutes or so.

If you want , you can also check the recipes in a blog from the Radio, created by Maria Mas or more sepecifically to my recipe

20 December 2010

Catalan Cream (Crema Catalana- al trencadís de caramel)


Finally, a traditional Catalan dessert: Crema Catalana It is also called crema cremada or crema de Sant Josep.
There is some small differences with the French version, Crème Brûlée, but as far as I know, the French version uses cream instead of milk, and this version is cook in a different way (Bain Marie, water bath).
The traditional presentation of Crema Catalana, looks like this, and you will need a butane torch or the typical way, un cremador.
As I don´t have any of these, I am going to show you another presentation that I found in a webpage called Cuinetes that looks very cool! The recipe is called "Crema Catalana amb trencadís de caramel".

What you need for 4 people:

500 ml whole milk
220 gr sugar
5 egg yolks
1 cinnamon stick
1 lemon zest
20 gr cornflour or starch
1 tsp of vainilla flavour-optional

For the caramel
4 tbsp water
3 tbsp sugar

Let´s start

1.In a bowl, add the egg yolks with the cornflour and a tbsp of milk. Beat it.
2.In a saucepan, add the milk, with the sugar, lemon zest and cinnamon stick. You can also add some vainilla flavour. Mix it.
3. When it starts to boil, remove the saucepan from the heat and let it cool down a little bit
4. Add this to the bowl with the egg yols and cornflour and keep beating all the time.
5. Sift this into another bigger saucepan at medium heat and keep beating all the time till it gets thicker. Remove it from the heat when it starts to boil.
6. Pour the catalan cream into different recipients and let it cool down. Then put it in the fridge.
7. Prepare the caramel. In a small saucepan or frying pan, add the sugar and water. When it gets a little bit brown, stir it with a spoon and remove it from the heat. Pour it in a surface with baking paper and put another baking paper on the top. With a rolling pin, make it thinner and regular. Let it cool down and remove the baking paper. Break it or shape it the way you like. Add the caramel before serving it and the Crema is cool down.

You don´t know what to do with the extra whites? Go for a Pavlova


Enjoy / Bon Profit!

Pavlova


Pavlova is a meringue-based dessert named after the Russian ballet dancer Ánna Pávlova. Colloquially referred to as "pav", it is a cake similar to meringue with a crispy crust and soft, light inner.
The dessert is believed to have been created in honour of the dancer either during or after one of her tours to Australia and New Zealand in the 1920s. The nationality of its creator has been a source of argument between the two nations for many years, but formal research indicates New Zealand as the more probable source (that is what wikipedia says...I don´t know!).

Why am I baking a Pavlova? Cause I am just back from Australia!
If you want to have a look to some videos, there are some in youtube to have a rough idea (video 1, video 2)

Want to hear and read this recipe in Catalan? Vols escoltar i llegir la recepta en Català? Go to this post

What you need

For the meringue
5 egg whites
240 gr castor sugar
2 tsp cornflour
1 tbsp white vinegar
1 tbsp vainilla extract

For the whipping cream
350 ml of double cream
5 tablespoon castor sugar

+ some fruit as decoration. In my case 4 kiwis, but strawberries and blueberries are very common too.

Comment: vinegar + cornflour can be replaced by a pinch of Cream of Tartar, if you have it. The aim of all these ingredients it to make it crispy outside.

Let´s start

1.Preheat the oven at 140ªC
2.Beat up the whites (previously at room temperature) for a while. Some people add a pinch of salt here. Then slowly add the sugar while beating the egg whites.That is important, take your time adding the sugar. Keep beating all the time. When it is much thicker, add the sifted cornflour, the vainilla extract and the vinegar. Slowly and keep beating....until it holds very stiff peaks.
3.Then grab your meringue and pour it into a tray with baking paper. Shape it the way you like. I like it a little bit tall and round the sides with an spatula.
4. Put it into the oven. Reduce the temperature at 125ºC. For 1 hour and a half.
5. After this time: Switch the oven off BUT keep the cake inside the oven for 15 min. Then open a little bit the door of the oven for 10 more minutes with the cake inside. We want this cake to cool down veeeeery slowly or it is going to collapse.
6. Add the whipping cream (beat the double cream with the castor sugar previously) on the top.
7. Decorate it with fruit. Put it in the fridge.

You don´t know what to do with the extra egg yolks, go for a Crema Catalana

Enjoy/ Bon Profit!


22 November 2010

Baked chermoula salmon with red pepper, lemon and mint couscous ( Xermoula de Salmó acompanyat de couscous amb pebrot vermell, llimona i un toc de menta)


Chermoula is a type of marinade used in some Mediterranean countries in North Africa. This recipe was published in "Delicious Magazine" and I got it through a friend from Denmark....Thank you Trine!
Just with small changes

What you need for 4 people

4 x 175 g pieces of skinned salmon fillet

For the chermoula:
2 small garlic cloves, chopped
1 tsp ground cumin
1 tsp ground coriander
1 tsp paprika
1 tsp harissa paste or 1/2 tsp minced red chilli
1 pinch of saffron strands
1 tbsp lemon juice
small bunch of fresh coriander leaves, roughly chopped
small bunch of fresh mint leaves, roughly chopped
3 tbsp olive oil
1/4 tsp salt

For the coucous:
2 red peppers
400 ml fresh chicken stock
275 g couscous
2 tbsp extra virgin olive oil
15 g butter
finely grated zest of 1 small lemon, plus juice of 1/2 lemon
2tbsp chopped fresh mint

Let´s start

Red peppers in the original recipe were done in the oven, like the escalivada. But I suggest doing it in a frying pan with oil, it is similar taste and less work. Up to you.

1. Preheat the oven to 230ºC
2. Put all the chermoula ingredients into a mini food processor and blend to a smooth paste.
3. Cut the red peppers and fry them in a frying pan with oil (be generous)
4. Line a baking tray with a sheet of baking paper. Season the skinned side of each salmon fillet with salt and pepper and then spread with some of the chermoula. Place chermoula-side down on the baking tray, season once more and spread with the remainng chermoula.
5.Cover the tray tightly with foil and bake the fish in the oven for 12 minutes. Meanwhile, bring the chicken stock to the boil in a medium pan. Stir in the couscous, cover and remove from the heat. Leave for 5 minutes, then uncover and fluff up with a fork. Add the oil and butter and stir over a low heat until heated through. Then stir in the roasted red peppers, lemon zest and juice, shopped mint and plenty of seasoning. Add the red peppers previoulsy fried with some of its oil.
6.Remove the salmon from the oven and discard the foil. Spoon the couscous onto 4 warmed plates and place the salmon alongside. Spoon over the cooking juices from the baking tray and serve.

If you prefer, you can cover each portion of salmon individually with a foil (wrap them) in step 4-5, and you will not need the baking paper.

Enjoy! Bon Profit

06 November 2010

American Cupcakes (Magdalenes americanes)


I love the colors of these cupcakes!. The truth is that is nothing to do with Catalan culture, it is an American recipe, but I don´t know why, here it is kind of trendy to prepare it. It is something new here, and a lot of people  who like to bake like me, are trying it now. Everybody is baking cupcakes!
I went to a cooking course about it a couple of weeks ago, that was organised by Gadgets&Cuina (you can find the recipe in Catalan there). As always, I have adapted it by adding some small changes.

What you need for 6 cupcakes:

For the dough:

80 gr flour
2,5 gr baking powder
pinch of salt
100 gr sugar
50 gr butter
1 egg
60 ml milk
1 teaspoon of vanilla extract
1 teaspoon of ground cinnamon
some chopped walnuts

For the topping:

80 gr butter
1 teaspoon of vanilla extract
200 gr icing/confectioneurs sugar
1 teaspoon of milk
food colorant(s)
decoration (like springles, or chopped nuts..)

Let´s start for the dough

1. In a bowl, mix the sugar with the melted butter (20 seconds in the microwave). Whisk it well. Add the vanilla extract and the egg. Whisk it well (Mix 1)
2. In another bowl, mix the flour, the salt, and the baking powder. (Mix 2)
3. Then add half of the mix 2 into the mix 1 and whisk it well.  Add half of the amount of milk. Mix it. Then add the rest of the mix 2 into the mix 1 and remove. Then add the rest of the milk. Mix it again with an spatula.
4. Divide the mix into 6 cupcakes. Use a paper for cupcakes like in the pic and put it inside a mold for cupcakes.
5. Put it into a tray in the oven for about 22 minutes at 180ºC

Let´s continue with the topping:

While it is in the oven we can prepare the topping.
1. In a bowl, mix the melted butter with the vanilla extract with an spatula
2. Then add the icing sugar little by little. Mix it.
3. Add the milk.
4. If you need to add more icing sugar do it here.

If you want different colors in your cupcakes, divide this cream into different portions.
Add the food colorant needed. Just an small amount is needed. 
I did the pink one with a red one, just adding a little bit of colorant.

Let´s put it together

Once the muffins are done, let them cool down completely!
Then decorate the top of them with a piping bag.
Add the extra decoration (sprinkles, nuts...).
Put it in the fridge. 
Removed them from the fridge 15 minutes before eating them.

Enjoy/Bon Profit!

31 October 2010

Panellets (small cakes of marzipan)


Panellets are the traditional dessert of All Saints holiday in Catalonia. Panellets are small cakes or cookies in different shapes, mostly round, made mainly of marzipan (a paste made of almonds and sugar).  There are different shapes and tastes, but pine nuts, coconut, almond are the most common ones. The most popular are the panellets covered with pine nuts, consisting of the panellet basis (i.e. marzipan) rolled in pine nuts and varnished with egg.
This recipe is inspired by the chef Mireia Carbó.

What you need:

For the marzipan:

500 gr ground almond 
500 gr sugar
200 ml water (or half a liquor like limoncello +1/2 water)
one grated lemon rind

+ different ingredients depending on the different tastes

Let´s start:

1.Prepare the marzipan. Grind the sugar. Then mix all the ingredients (use your hands). Add the water and mix it.
2. Let the dough stand overnight wrapped with a plastic film (saran wrap/ clingfilm/..) (or at least 2 hours)
3. Then divide the dough in different portions to prepare different varieties. Up to you. *Follow the instructions below
4. Finish it by introducing the final product in a tray (with baking paper) into the oven preheated at 230ºC for about 2-5 minutes. Put in the lower tray. Check it. Cook each variety individually.

For the pine nuts panellets
marzipan portion
100 g of pine nuts
1 egg

-Divide the portion into smaller portions that will be the final product. Form the dough into balls (same size).
-In a dish whisk the egg. Coat the balls in the egg. Then fill your both hands with a bunch of pine nuts and take one ball and press it till the pine nuts get sticked into the marzipan
-Go to point 4.

For the almond panellets:
100 g of chopped almonds
egg

Follow the same instructions as with the pine nuts panellets but use chopped almonds instead.


For the quince preserve panellets:
Some thick quince preserve
whisked egg

-Use the portion and this time make a roll. Cut the roll with a knive lengthwise and introduce the thick quince preserve cut as a long portion inside (or different long portions one after the other). Close it. Paint it with some egg.
-Go to point 4
-Cut the roll in individual portions when it has completely cool down.

For the candied cherry panellets:
Some candied cherries
1 teaspoon of  Kirsch

-Add the Kirsch into the marzipan
-Divide the portion into different balls. 
-Flatten them.
-Add one cherry in each cake
-Go to point 4

For the coconut panellets:
There are 2 versions here:

Version 1:
50 gr of grated dry coconut

-Mix with your hands some coconut with the marzipan dough
-Divide it into pieces
-Shape all the pieces like a mushroom upside down.
-Add some more coconut (coated)
-Go to point 4

Version 2 (my favourite one)
Here we will not use the marzipan dough

100 gr of grated dry coconut 
100 gr sugar
1 egg

-We mix all the ingredients with your hands. You don´t need to let this stand.
-Divide it into small balls and shape it the way you like.
-Go to point 4.


There are a lot of other different varieties like coffee, chocolate, lemon, ....

Want to prepare the marzipan in a different way?

Try to do it the way of the chef Carme Ruscalleda (marzipan):
In a pan, you mix water (150 ml) and sugar (350 g). It gets over medium heat until it starts to boil and let boil it until it gets a texture of a syrup.
Then dump the grounded almonds (500 g) and stir continuously with the help of a wooden spatula for about 2-5 minutes until the pastry is homogenous and peel off the walls. Let cool it down
Incorporate into an egg white (not whipped), and mix well.
Leave the dough rest in refrigerator for at least 2 hours. (You can let it the whole night until the next day).
Mass is divided into different portions according to the tastes that you want to prepare.

Enjoy/Bon Profit !